
To start, I never use Microsoft Word to design anything using pictures. I always use PowerPoint, due to the ease of movement on the program. You can easily rearrange graphics throughout the page, instead of having to reformat each time.
Step 1: Open PowerPoint (I'm on a Mac, so my screen may look different than yours).

Step 2: Reorient the page to portrait instead of the preset landscape orientation. On a Mac, you do this by going to the menus at the top of your screen, clicking on "file", then "page setup". This will bring you to the following pop up screen:

Click on the picture of a vertical instead of horizontal slide, then click "ok".
Step 3: Find the picture or border you want to use. I've done chalkboard backgrounds, a fun border and clipart found on Teachers Pay Teachers, or found a border I liked on Google. If you find it on Google, I just copy and paste to the slide and resize to fit the slide. If you download something, go to the menu at the top of the screen and click on "insert", "photo", and "picture from file".

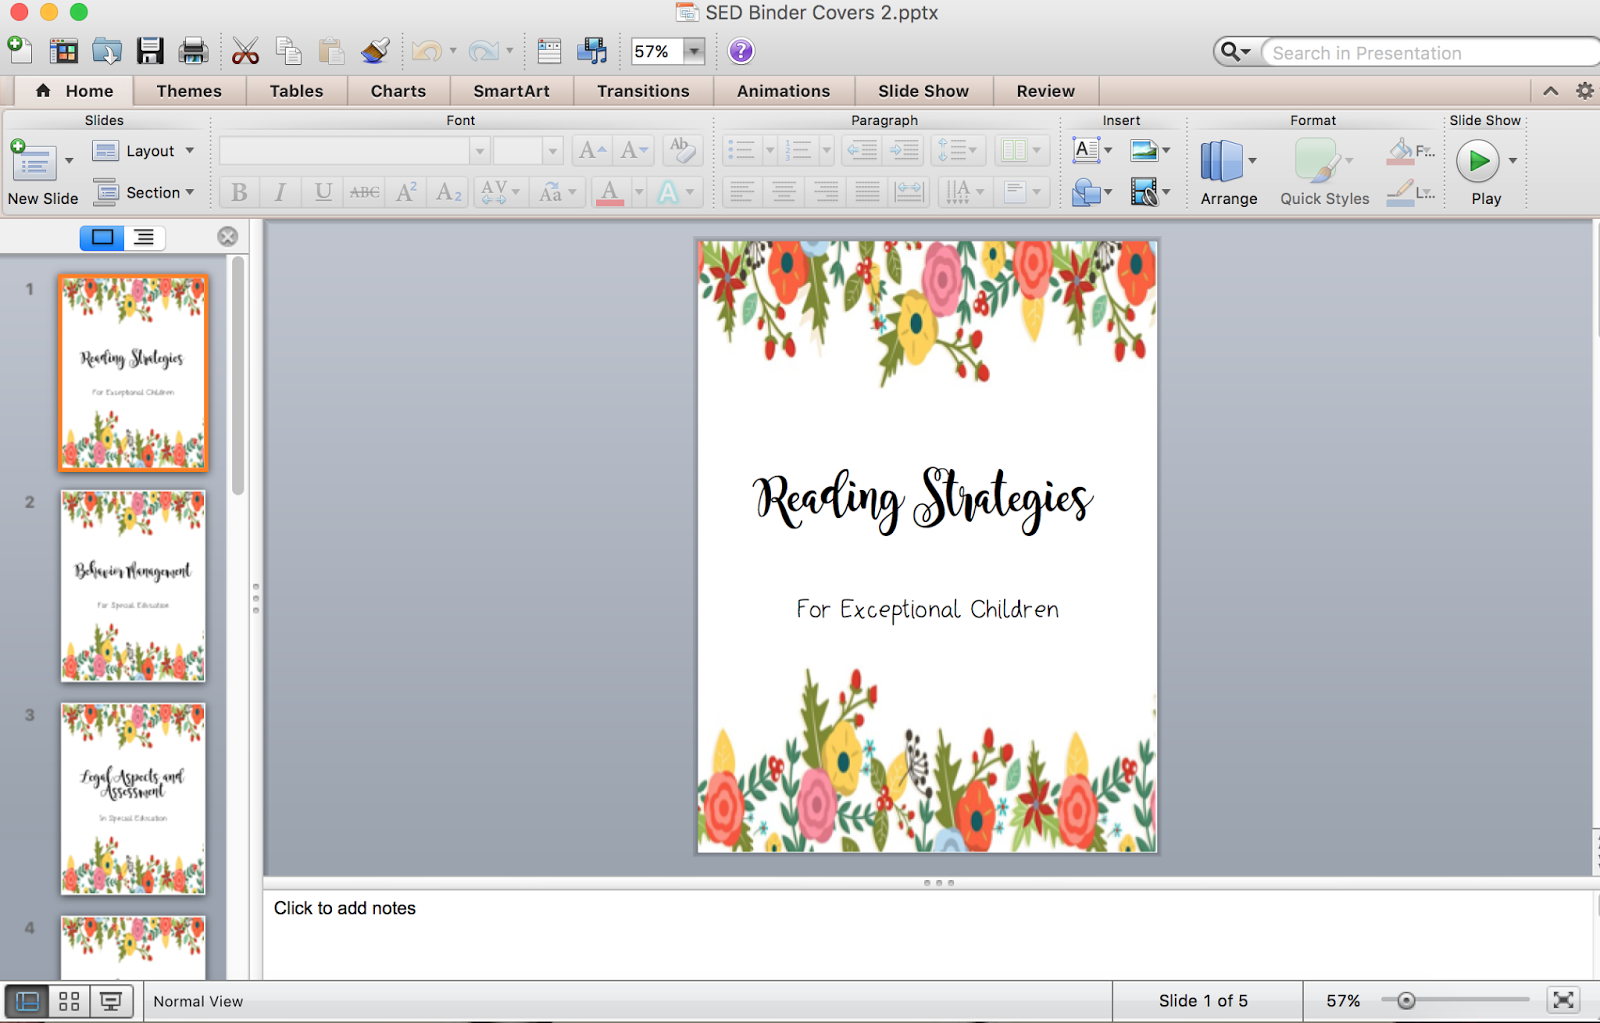
Step 4: Send photo to back. Doing this will bring the text boxes forward. I leave my text boxes in the preset title page position. To send the photo to back, click on the slide, making sure the photo is outlined, then click "format picture", "reorder", and "send to back".

Step 5: Type in the title you want on your binder cover in the text box. I like to put the name of my class in the larger box and either a sub-heading or my name in the smaller box. I also make sure the font colors match. You can change the font to whatever you'd like, but I like to use fonts I've downloaded from Teachers Pay Teachers (Cara Carroll's fonts are great, and I've bought a licensed set for products I post on there).
From here, you can print the covers and enjoy! Make sure you print one slide per page to make the cover!
If you have any other questions, feel free to comment or email me!
Happy decorating!
-Sydney Liz